# Lab 1 - Installing Jaeger
The first laboratory of the workshop consist of launching a Kubernetes cluster in our local machine and install the Jaeger Operator (opens new window). In order to achieve that, we will use minikube (opens new window) that eases a lot this task.
We will perform the following tasks:
- Install and run a Minikube cluster in your laptop.
- Use
kubectlwhile deploying a sample application. - Deploy Jaeger.
- Test Jaeger accessing its UI.
# Requirements
- 2 CPUs or more
- 8GB of free memory
- 40GB of free disk space
- Internet connection
- Container or virtual machine manager, such as: Docker (opens new window).
# 1. Installing Minikube
Depending of your OS, you will have different options for installing Minikube.
# 2. Starting the cluster
From a terminal with administrator access (but not logged in as root), run:
minikube start --cpus 2 --memory 8192 --disk-size 40g --addons=ingress
# 3. Interacting with K8s
If you already have kubectl installed, you can now use it to access your shiny new cluster:
kubectl config use-context minikube
kubectl get po -A
Alternatively, minikube can download the appropriate version of kubectl, if you don't mind to use an alias in the command-line:
alias kubectl="minikube kubectl --"
kubectl get po -A
minikube bundles the Kubernetes Dashboard, allowing you to get easily acclimated to your new environment:
minikube dashboard
# 4. Deploying a sample application
Create a sample deployment and expose it on port 8080:
kubectl create deployment hello-minikube --image=k8s.gcr.io/echoserver:1.4
kubectl expose deployment hello-minikube --type=NodePort --port=8080
It may take a moment, but your deployment will soon show up when you run:
kubectl get services hello-minikube
The easiest way to access this service is to let minikube launch a web browser for you:
minikube service hello-minikube
Alternatively, use kubectl to forward the port:
kubectl port-forward service/hello-minikube 7080:8080
Now, the application is available at http://localhost:7080/ (opens new window)
# 5. Deleting minikube cluster
For now, we will not execute this command.
minikube delete --all
# 6. Deploying Jaeger Operator
kubectl create namespace observability
kubectl create -f https://raw.githubusercontent.com/jaegertracing/jaeger-operator/master/deploy/crds/jaegertracing.io_jaegers_crd.yaml
kubectl create -n observability -f https://raw.githubusercontent.com/jaegertracing/jaeger-operator/master/deploy/service_account.yaml
kubectl create -n observability -f https://raw.githubusercontent.com/jaegertracing/jaeger-operator/master/deploy/role.yaml
kubectl create -n observability -f https://raw.githubusercontent.com/jaegertracing/jaeger-operator/master/deploy/role_binding.yaml
kubectl create -n observability -f https://raw.githubusercontent.com/jaegertracing/jaeger-operator/master/deploy/operator.yaml

kubectl create -f https://raw.githubusercontent.com/jaegertracing/jaeger-operator/master/deploy/cluster_role.yaml
kubectl create -f https://raw.githubusercontent.com/jaegertracing/jaeger-operator/master/deploy/cluster_role_binding.yaml
# 7. Deploying Jaeger instance
Now, we will deploy a in-memory all-in-one instance of Jaeger, suitable for this workshop.
Deploy the instance:
kubectl apply -n observability -f - <<EOF
apiVersion: jaegertracing.io/v1
kind: Jaeger
metadata:
    name: "jaeger-workshop"
EOF
Check the instance:
kubectl get jaegers -n observability
kubectl get pods -n observability -l app.kubernetes.io/instance=jaeger-workshop
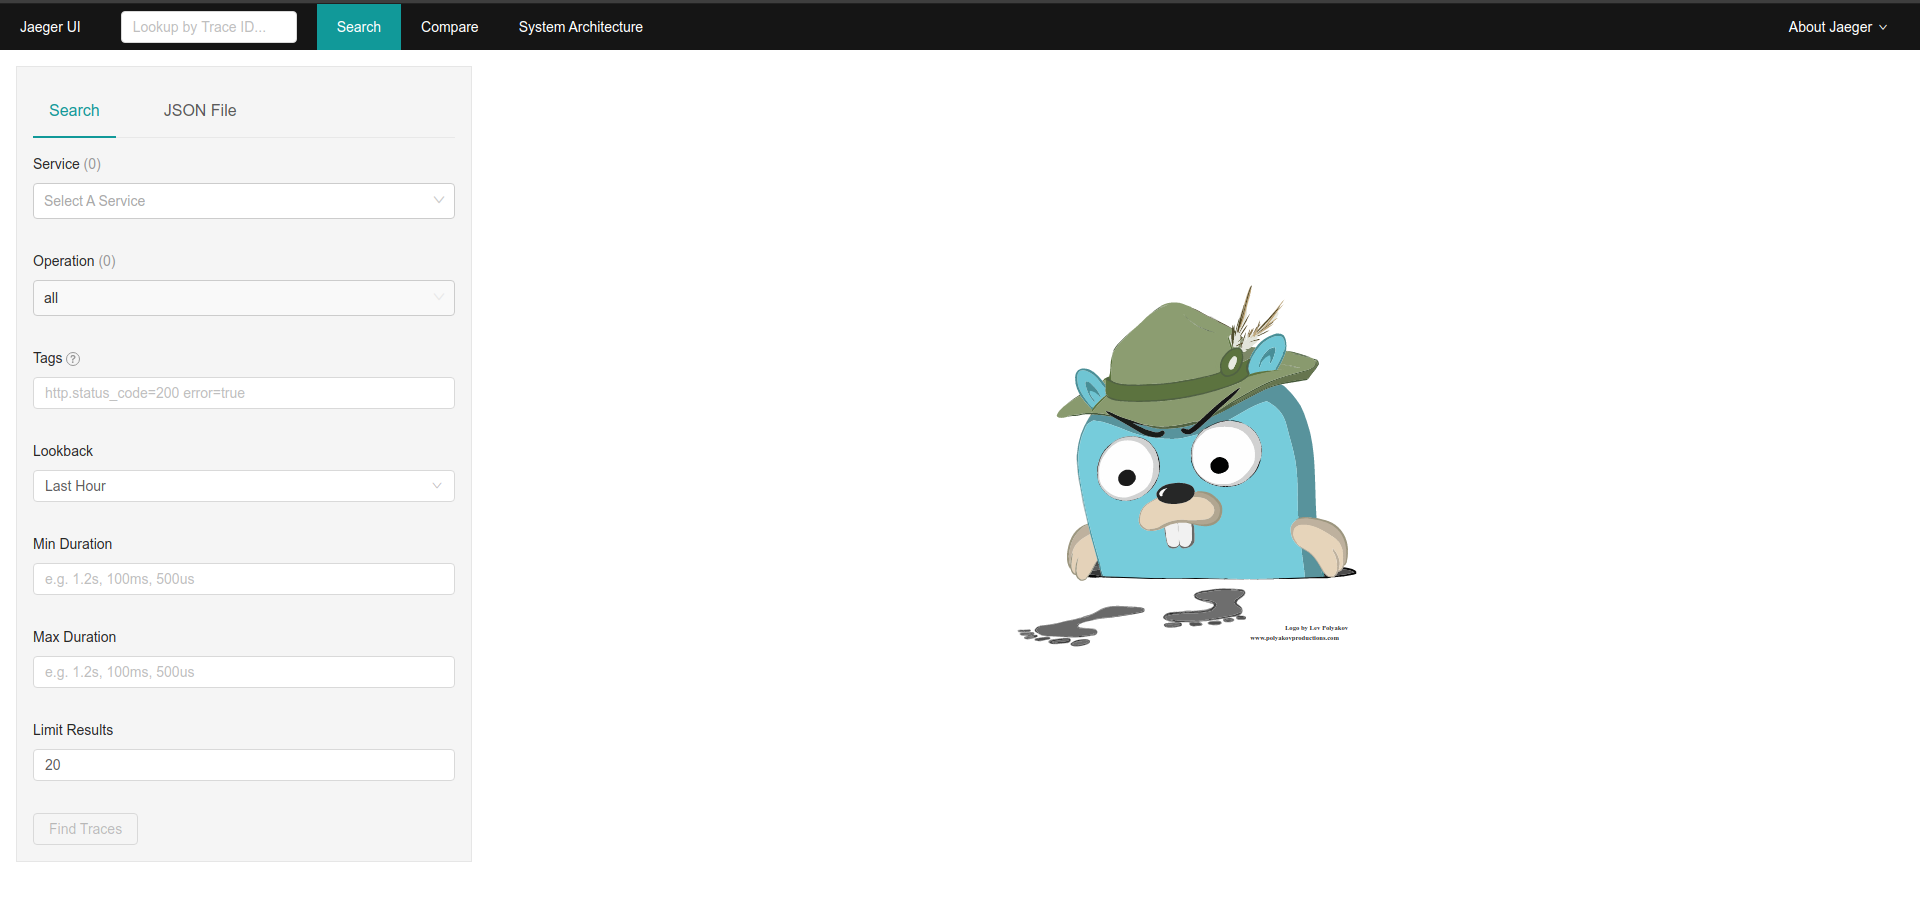
# 8. Validating Jaeger deployment
To validate that Jaeger is working correctly, let’s forward its port and see if we can access the UI:
kubectl get -n observability ingress

K8S_INGRESS_IP=$(kubectl get -n observability ingress -o jsonpath='{.items[0].status.loadBalancer.ingress[0].ip}')
echo "http://$K8S_INGRESS_IP"
Now, the application is available at the link printed before.