# Lab 2 - Installing Istio
In the second laboratory of the workshop, we will install and configure Istio as in its getting-started (opens new window) tutorial.
We will perform the following task:
- Download Istio in your laptop.
- Install in your Minikube cluster.
- Deploy a sample application.
- Use a dashboard for Istio.
# 1. Downloading Istio
Execute Istio downloader:
curl -L https://istio.io/downloadIstio | ISTIO_VERSION=1.8.1 sh -Move to the Istio package directory:
cd istio-1.8.1Add the
istioctlclient to your path (Linux or macOS):export PATH=$PWD/bin:$PATH
# 2. Installing Istio in Minikube
For this installation, we use the
democonfiguration profile (opens new window).istioctl install --set profile=demo(Optional) Add a namespace label to instruct Istio to automatically inject Envoy sidecar proxies when you deploy your application later:
kubectl label namespace default istio-injection=enabled
# 3. Deploying a sample application
Deploy the Bookinfo sample application (opens new window):
kubectl apply -f samples/bookinfo/platform/kube/bookinfo.yamlThe application will start. As each pod becomes ready, the Istio sidecar will deploy along with it.
kubectl get servicesand
kubectl get podsVerify everything is working correctly up to this point. Run this command to see if the app is running inside the cluster and serving HTML pages by checking for the page title in the response:
kubectl exec "$(kubectl get pod -l app=ratings -o jsonpath='{.items[0].metadata.name}')" -c ratings -- curl -s productpage:9080/productpage | grep -o "<title>.*</title>"
# 3.1 Opening sample application to outside traffic
The Bookinfo application is deployed but not accessible from the outside. To make it accessible, you need to create an Istio Ingress Gateway (opens new window), which maps a path to a route at the edge of your mesh.
Associate this application with the Istio gateway:
kubectl apply -f samples/bookinfo/networking/bookinfo-gateway.yamlEnsure that there are no issues with the configuration:
istioctl analyze
# 3.2 Determining the ingress IP and ports
Follow these instructions to set the INGRESS_HOST and INGRESS_PORT variables for accessing the gateway. Use the tabs to choose the instructions for your chosen platform:
Set the ingress ports:
export INGRESS_PORT=$(kubectl -n istio-system get service istio-ingressgateway -o jsonpath='{.spec.ports[?(.name=="http2")].nodePort}')
export SECURE_INGRESS_PORT=$(kubectl -n istio-system get service istio-ingressgateway -o jsonpath='{.spec.ports[?(.name=="https")].nodePort}')
Ensure a port was successfully assigned to each environment variable:
echo "$INGRESS_PORT"
echo "$SECURE_INGRESS_PORT"
Set the ingress IP:
export INGRESS_HOST=$(minikube ip)Ensure an IP address was successfully assigned to the environment variable:
echo "$INGRESS_HOST"Run this command in a new terminal window to start a Minikube tunnel that sends traffic to your Istio Ingress Gateway:
minikube tunnelSet
GATEWAY_URL:export GATEWAY_URL=$INGRESS_HOST:$INGRESS_PORTRun the following command to retrieve the external address of the Bookinfo application.
echo http://"$GATEWAY_URL/productpage"Paste the output from the previous command into your web browser and confirm that the Bookinfo product page is displayed.
# 4. Managing Istio using a dashboard
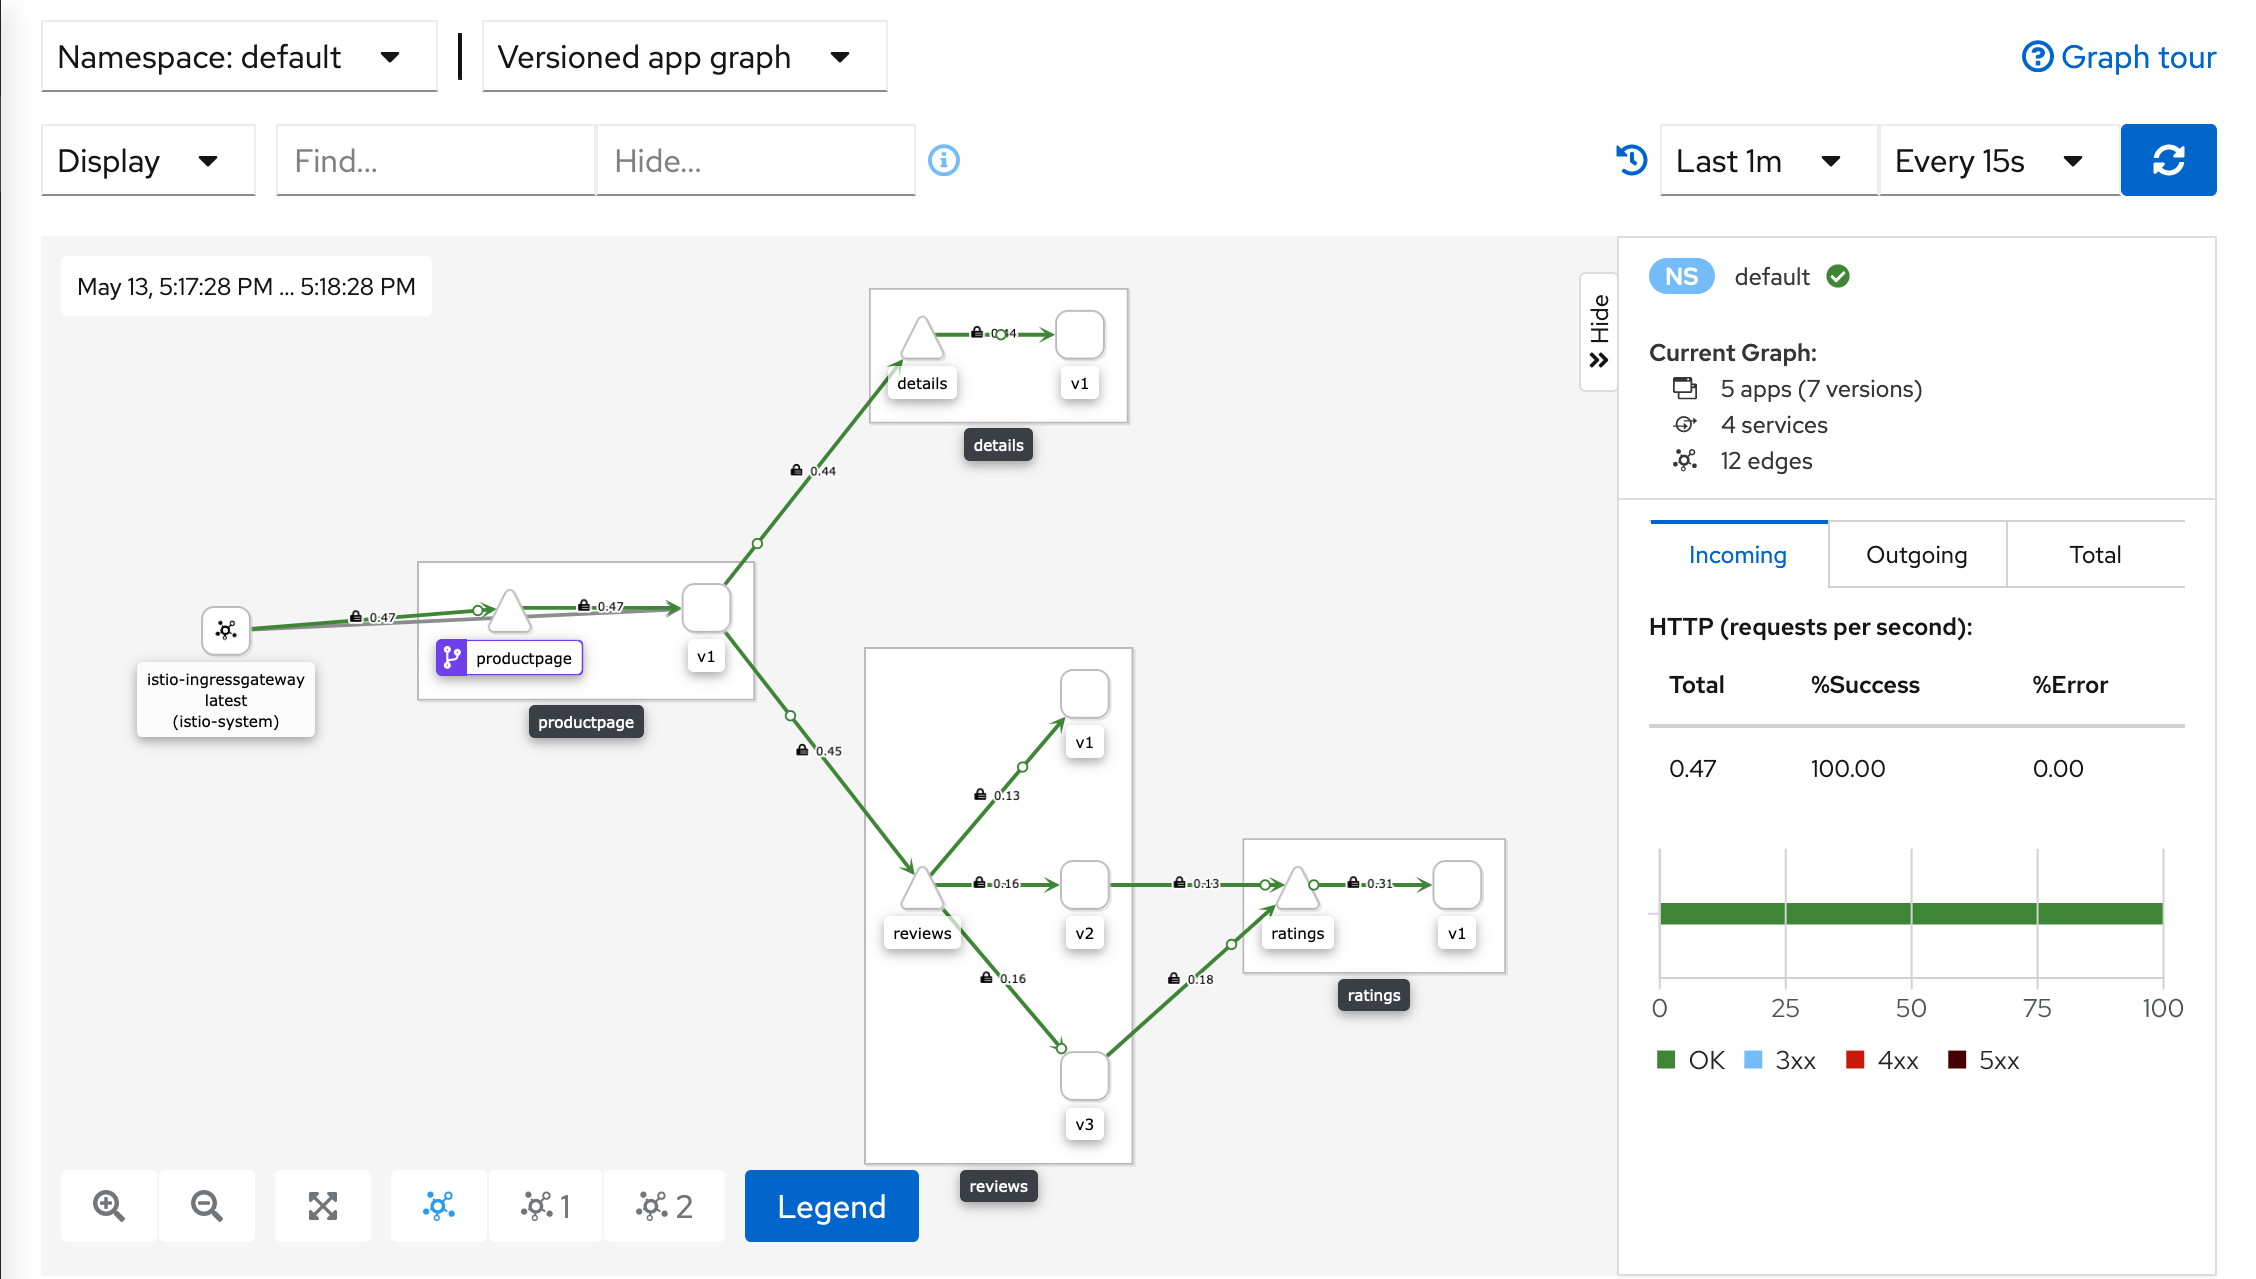
Istio has several optional dashboards installed by the demo installation. The Kiali (opens new window) dashboard helps you understand the structure of your service mesh by displaying the topology and indicates the health of your mesh.
Install
Kialiand the other addons and wait for them to be deployed.kubectl apply -f samples/addons kubectl rollout status deployment/kiali -n istio-systemAccess the Kiali dashboard. The default user name is
adminand default password isadmin.istioctl dashboard kialiIn the left navigation menu, select Graph and in the Namespace drop down, select default.
The Kiali dashboard shows an overview of your mesh with the relationships between the services in the
Bookinfosample application. It also provides filters to visualize the traffic flow.